Ceiling Leak Water Damage in Tigard
A spreading ceiling stain shows where water became visible, not necessarily where it started. Overhead cleanup first addresses instability, then traces moisture above the finish and coordinates access to the room or cavity beyond it.
(888) 373-8814Describe the overhead water damage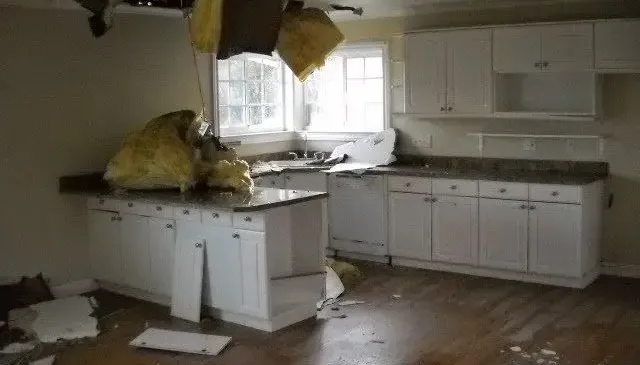
The darkest part of a ceiling stain is not a reliable location for the source. Water can travel along framing or across the upper face of a finish before dripping into the room. Ceiling leak cleanup in Tigard begins by assessing whether the material can be approached safely, then investigates the assembly above. Wet fixtures, bulging finishes and loose pieces require a protected area below while the source and removal plan are established.
- The restoration team marks wet boundaries before placing drying equipment.
- Source water, contamination and material condition determine the removal scope.
- Documented material readings, checked against an appropriate dry reference, determine completion.
What does ceiling leak water damage cost in Tigard, OR?
Ceiling leak cleanup in Tigard depends on cavity access, insulation condition and the spread beyond the visible stain. The estimate should separate source repair, safe material removal and drying from later ceiling finishing and paint work.
Small accessible ceiling area
- Limited overhead opening
- Localized material checks
- Reachable moisture access
Room-wide cavity moisture
- Broader ceiling assessment
- Wet insulation decisions
- Targeted cavity drying
Multiple affected rooms
- Connected overhead inspection
- Additional finish removal
- Expanded moisture documentation
Ranges are typical, not a quote: category of water, square footage, material class and how fast drying started move the number most. Run the water damage cost calculator for a closer range.
How ceiling leak water damage is handled in Tigard
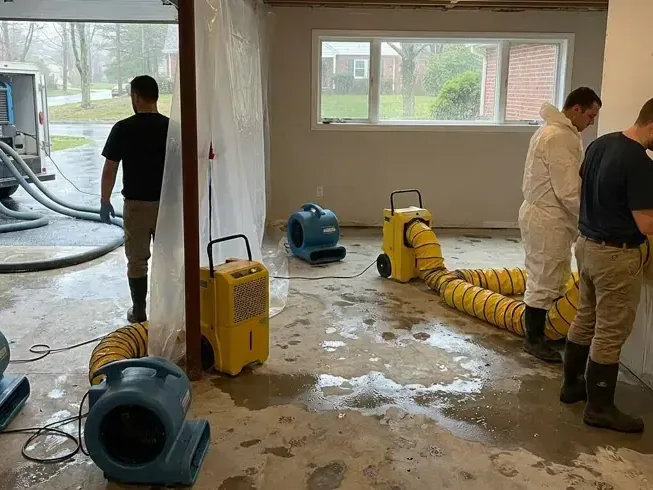
The tech who does the walkthrough maps moisture through the affected assembly and records a dry comparison. The drying team adjusts airflow and humidity control after each inspection, then confirms the material goal before removing equipment.
- 1
Assess the overhead hazard
Establish a protected footprint below loose finishes and identify electrical concerns before inspecting the source or bringing equipment into the room.
- 2
Trace water above the stain
Coordinate upper access and follow the wet path through framing, penetrations and insulation instead of limiting inspection to the drip location.
- 3
Create useful cavity access
Remove unsuitable or unstable materials as needed, exposing retained layers so their condition can be assessed and the drying approach selected.
- 4
Prepare the repair handoff
Record remaining moisture, source repair status and any further access needs before recommending closure of the ceiling and restoration of the finish.
Keep the room below clear of unstable material
A resident near Hall Boulevard should avoid placing a ladder beneath a sagging patch or puncturing it to release water. The condition of the ceiling and any nearby electrical components needs professional assessment. Furniture can remain outside the unsafe footprint until a controlled handling plan is in place. Photographs from a dry, protected position can record the initial stain without requiring anyone to stand directly beneath it.
Arrange entry to the space above
In a managed property near Ash Avenue, inspection may require access to another room or unit. Tigard includes rented and owner occupied housing, making prompt contact with the responsible manager useful when the upper space is locked or occupied. The cleanup scope should follow the water rather than stop at a unit boundary. A plumbing fixture, appliance or roof entry each calls for a different source repair investigation.
- Record when dripping occurs and whether a fixture was operating.
- Check the ceiling perimeter for moisture beyond the visible stain.
- Identify insulation or enclosed framing above the damaged finish.
Open only with a plan for the wet cavity
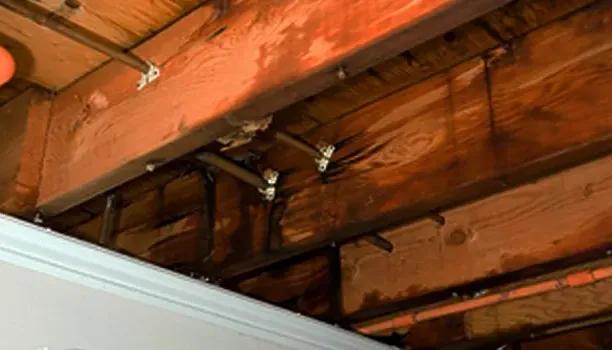
At a Main Street property, selected ceiling removal can expose both wet materials and the route water followed. An opening should provide useful access for inspection and drying, with loose or unsuitable material handled safely. The roof leak service addresses rain entry when that is the identified source. Whatever caused the ceiling damage, retained framing and surrounding finishes need moisture checks before a new patch conceals the cavity. The repair handoff should also identify any source work that remains incomplete.
Ceiling leak water damage across Tigard
Overhead damage assessments cover properties around Hall Boulevard, Ash Avenue and Main Street, with access coordination in Tigard residential ZIP areas 97223 and 97224.
The same service nearby: ceiling leak water damage in Tualatin, Lake Oswego, Sherwood.
Water damage restoration in Tigard · every neighborhood covered
Related water damage services in Tigard

Ceiling Leak Water Damage questions in Tigard, OR
Should a bulging ceiling be punctured?
Occupants should stay clear of unstable overhead material. Controlled removal or drainage requires assessment of the ceiling, electrical conditions and the area beneath it.
Can a stain be painted after dripping stops?
A ceiling cavity may remain wet after dripping stops. Moisture above the finish and the source repair status need assessment before cosmetic work covers the area.
Why is access to another room necessary?
Water can originate away from the visible stain. Entry above or beside it helps locate the source and inspect materials that cannot be evaluated from below.
Does a roof leak always appear below its opening?
Water can follow framing or other surfaces before becoming visible. The inspection traces the actual wet route rather than assuming the stain marks the roof defect.
Will every ceiling surface need removal?
Removal decisions depend on instability, material condition and access to wet layers. The scope should explain why selected areas are opened and others can remain.
What if the room above is rented?
The property manager should coordinate entry and repair authorization. The affected assembly may cross occupied spaces, so the inspection needs access beyond the first reported stain.
Trace the leak before repairing the ceiling
Protected access and inspection of the cavity help establish which materials can remain and what needs drying before the finish returns.